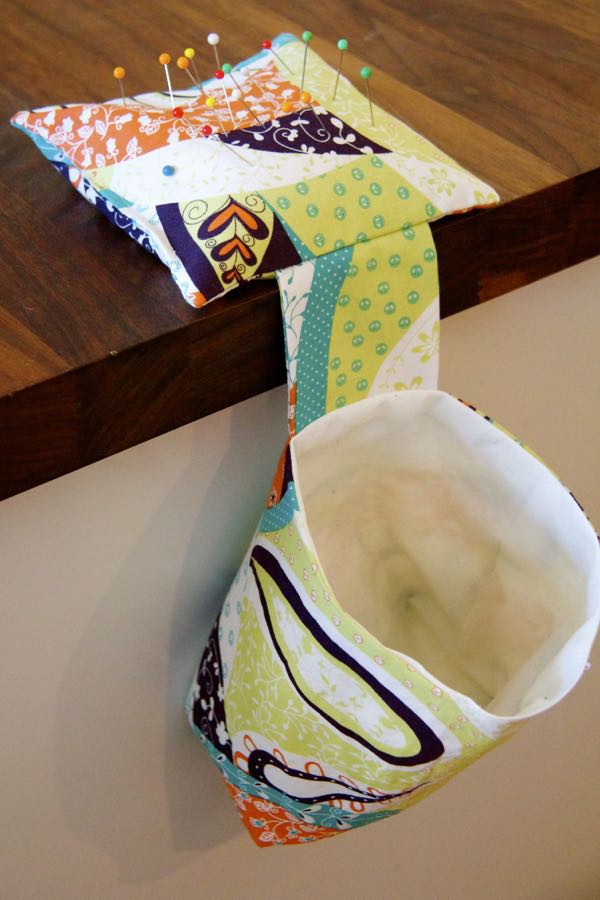
I love sewing, but what I don’t like is the mess I make with thread and cutoff pieces of fabric everywhere. Also since we often are multiple people working on different projects together I also thought it would be nice to have another place to put the pins. It was surprisingly easy to make as well.
First of all you need to have one or two fabrics. I chose to have one main fabric with pattern (left over from my sister room makeover) then I chose a plain fabric for the inside of the thread catcher. Since these were both scrap pieces this projects cost me nothing! If you have lots of pieces of fabric lying around you can even make it quilt-like. Or use a fat quarter. So this is what you need
- 2x
- 3x (1 piece of a more study fabric inside to make it more durable)
- 2x
That is it! To make it a bit more sturdy I also cut out a *** of ****.
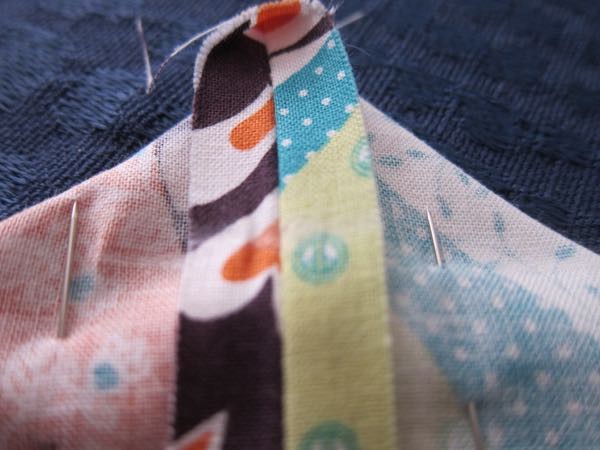
Take the two *** by *** fabrics and iron on the *** on one of the sides. Then – right side together and sew two seams on each side. Turn it inside out and you have the piece that connects the pincushion and thread catcher together.
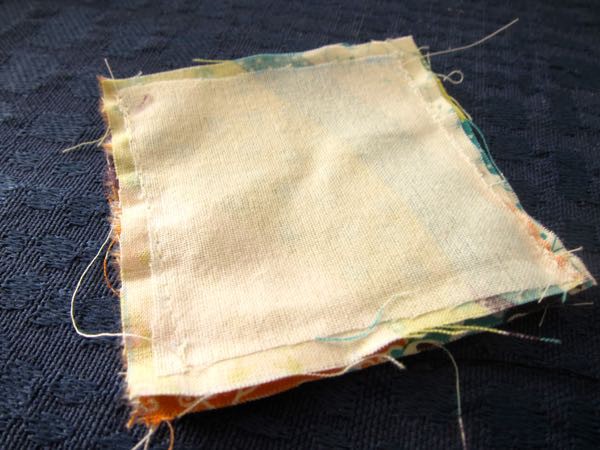
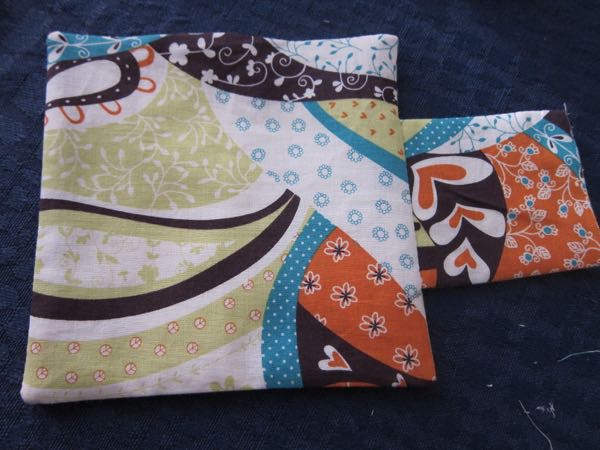
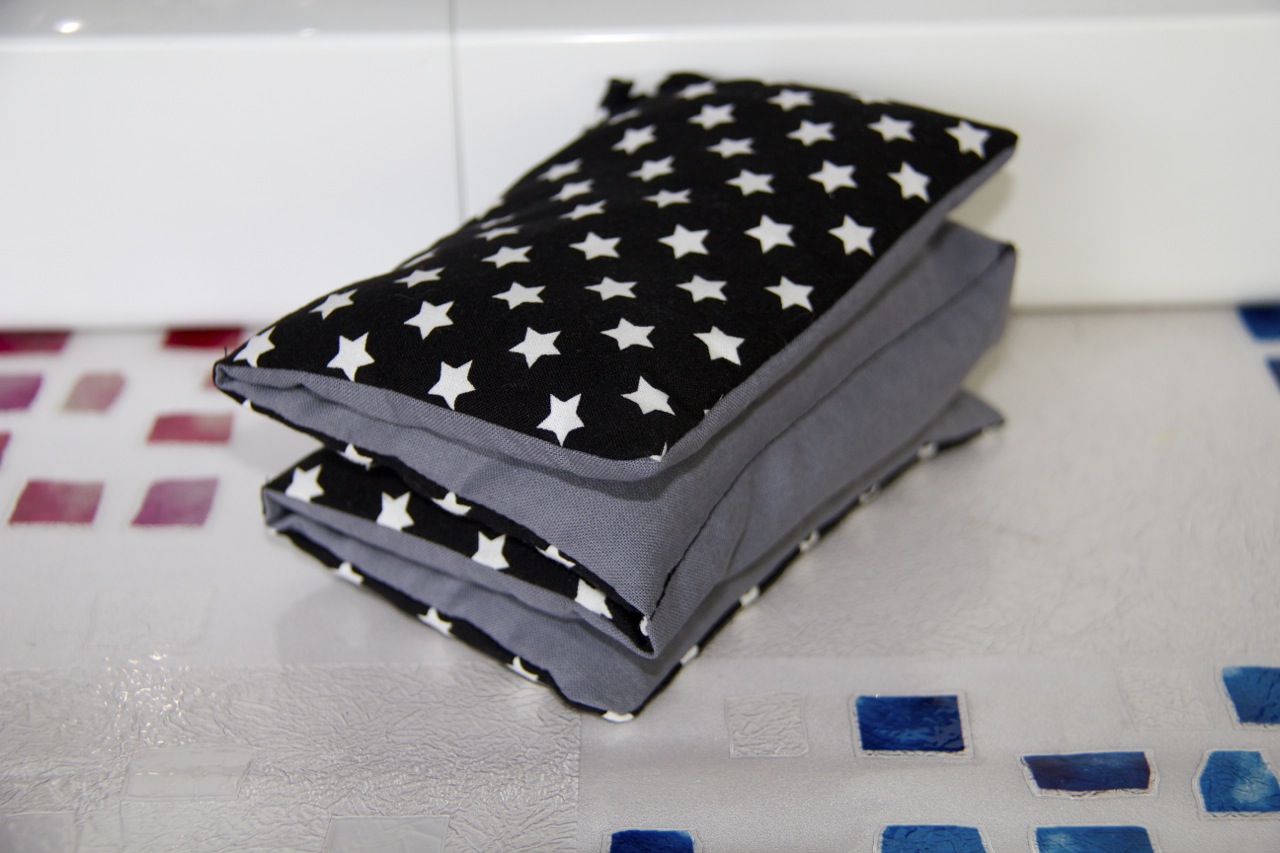
Moving on to making the pincushion. This is actually three layers. Two of your main fabric and one of a more durable fabric to make it last longer. Add these right side together with the durable fabric on top. Remember to also add the connector piece you just made. Make sure it is in the middle of one of the sides.
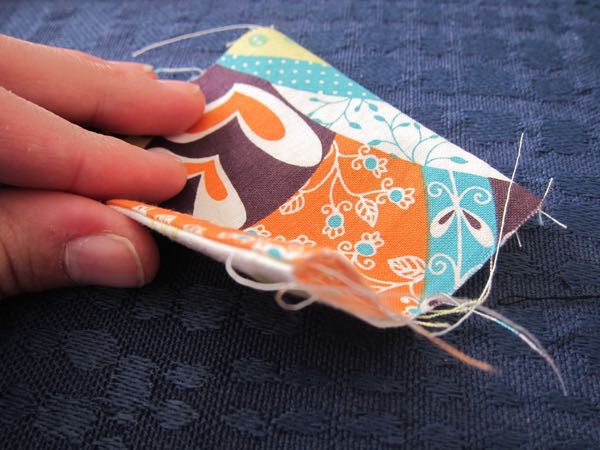
Sew around it, leaving an opening to be able to turn it inside out. Cut of the triangles in the corners to that gives a prettier end product. Turn it right side out and pin the opening shut (but do not sew it yet).
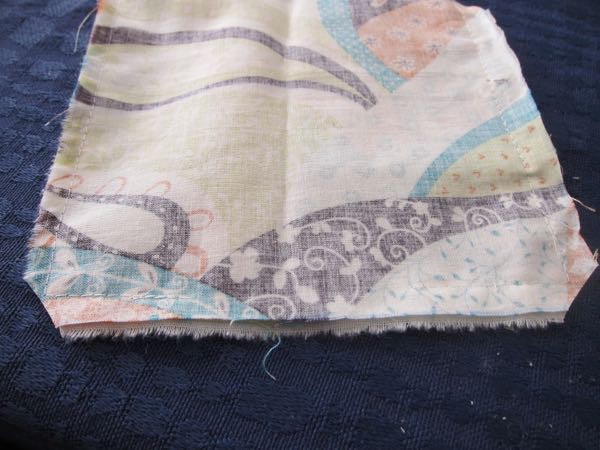
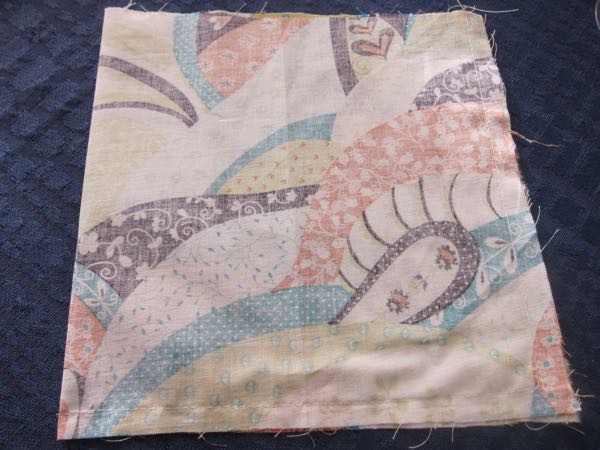
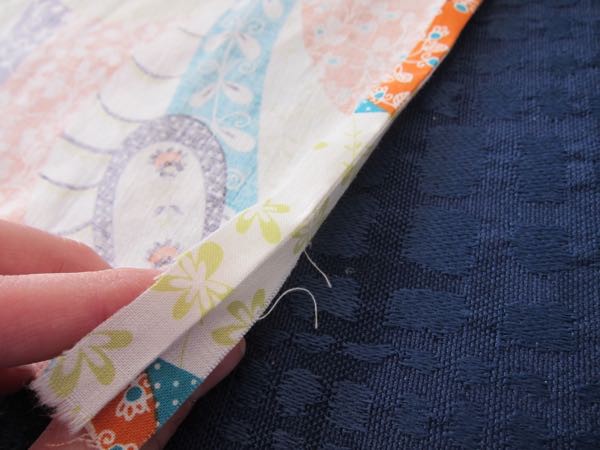
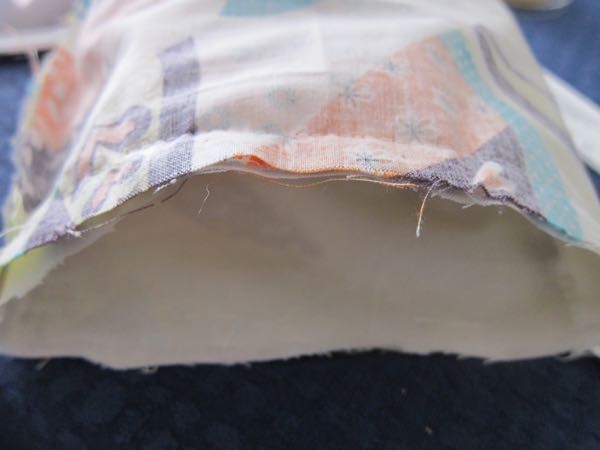
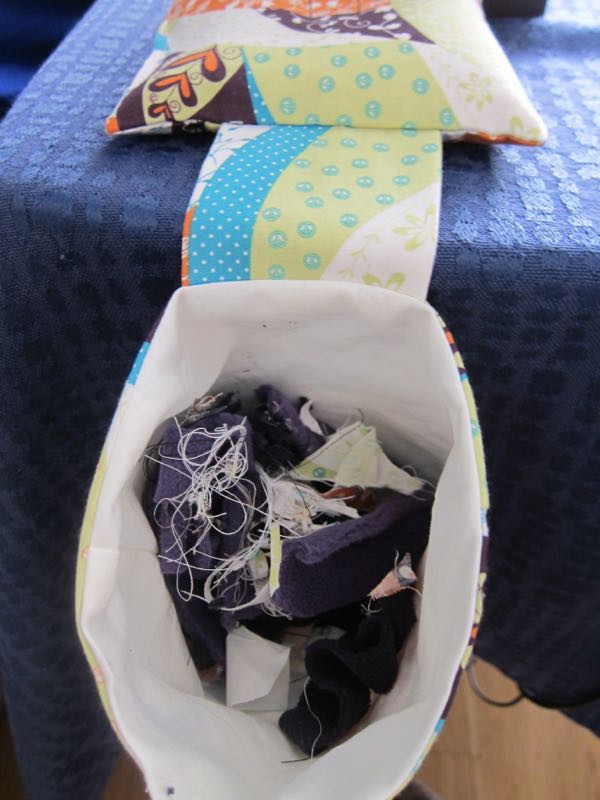
Now it is time for the thread catcher. Start with the main fabric. Fold it in half, right side together, and sew the side and bottom. Iron the bottom flaps to each side. I fount it easier to fold it over and then iron, then do the same on the other side. Then fold it into a triangle by lining ut the side and bottom seam. From the tip of the triangle measure 3 cm. Sew a straight line and cut of the end. Do the same on the other side. Now the bag stays open. Do the same on your inner fabric.
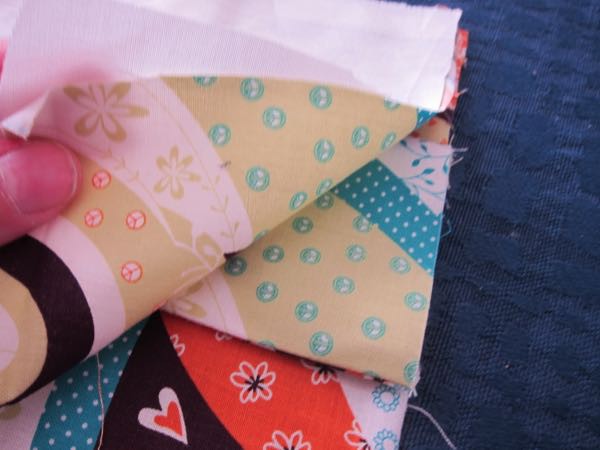
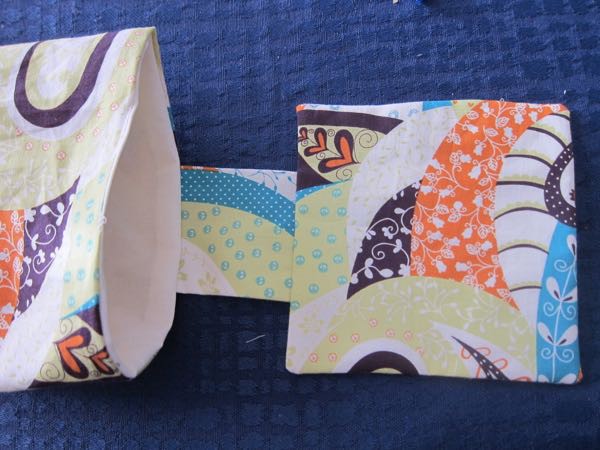
Lets sew everything together. Pin the other end of the connected from the pincushion to the middle, inside of one of the sides on the outer fabric. Then pin the inner fabric right side in. Sew around the edges – leave an opening to turn it right side out. When you have flipped the fabric pin the opening shut. You can sew it by hand with an invisible seam or use your machine. Since this is for me I decided to go with the quickest solution – although not as pretty it does the job.
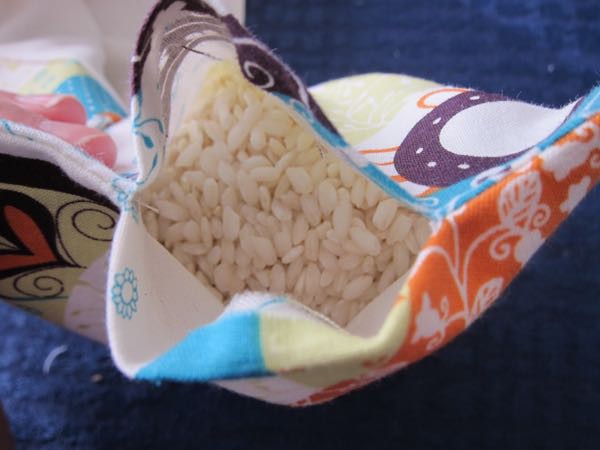
Now its time to fill the pincushion with rice. I am not sure the exact amount I used but I probably filled it about ⅔-¾ full. Again you can sew it shut with an invisible seam or your machine.
Voila! Its done. I have read a lot of tutorials include some sort of device that keeps the bag open, however I did not have any on hand and actually thought it did a good job keeping open by its self.





This is definitely going to be added to my under the bed sewing box!